How to grow Eupatorium
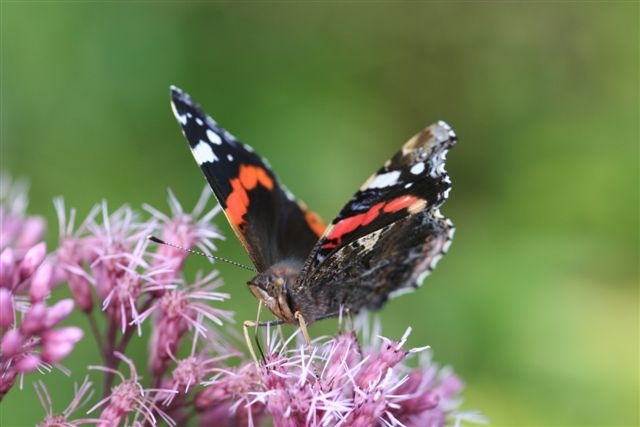
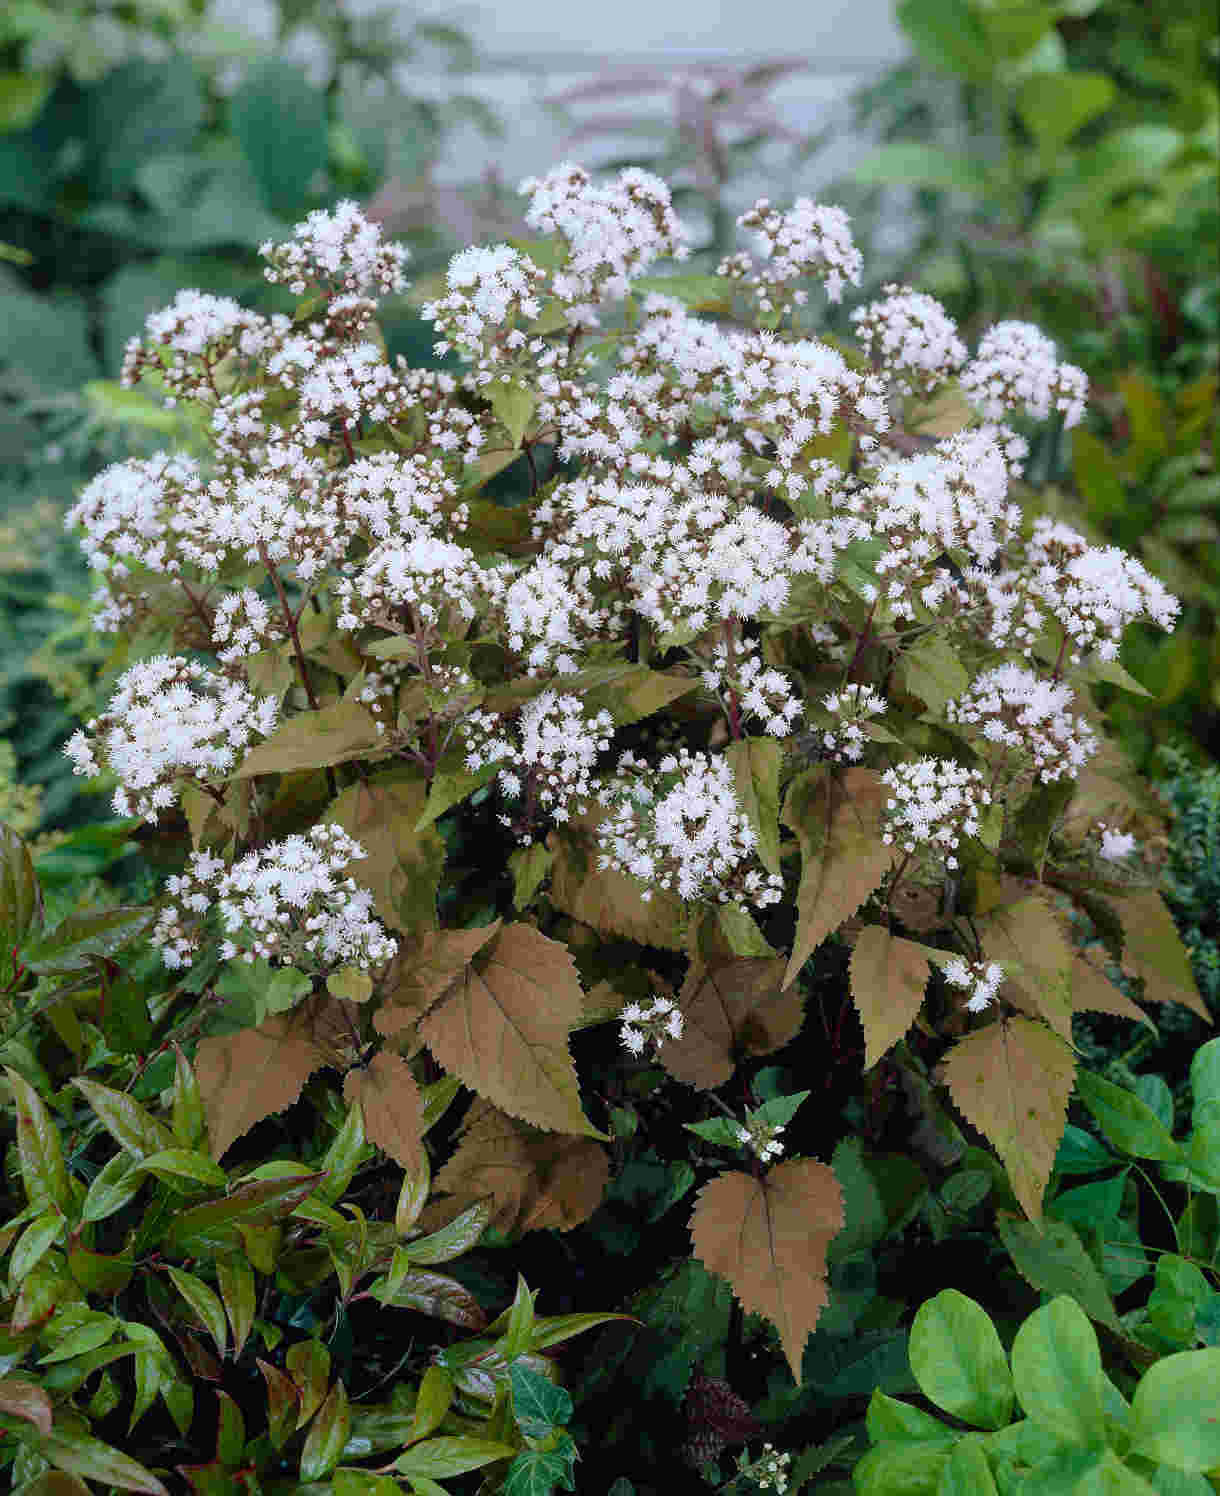
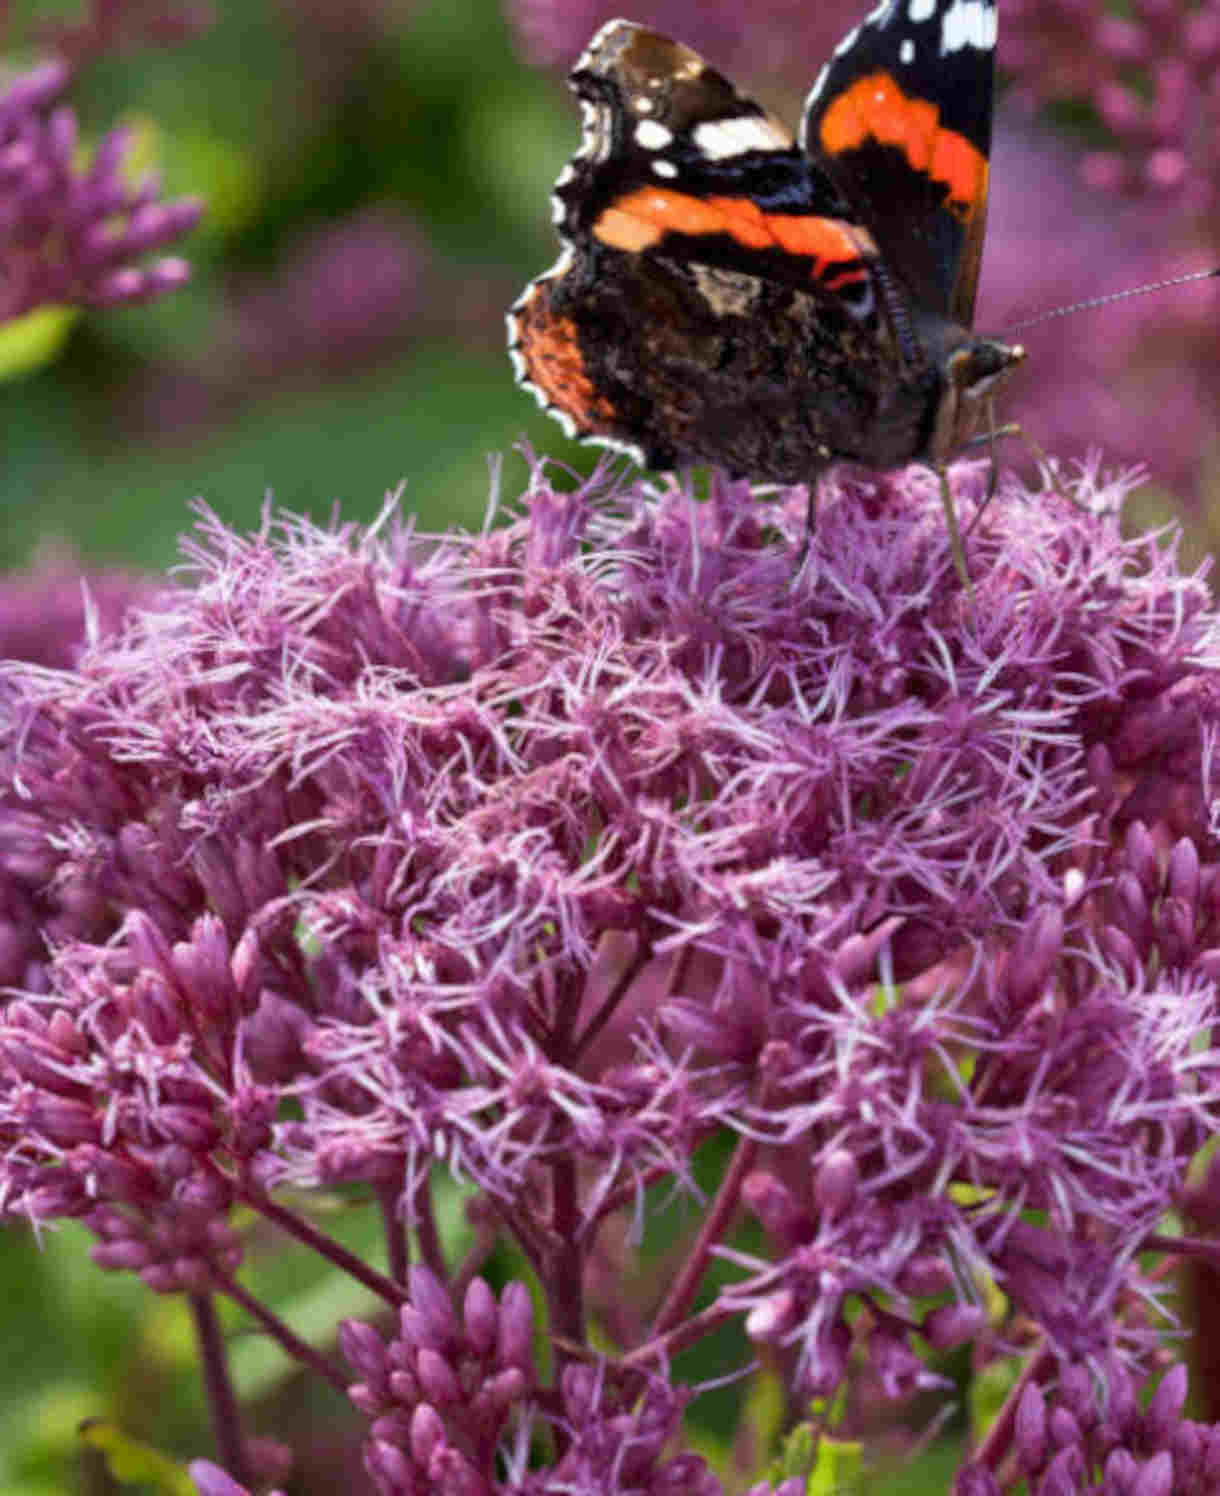
Eupatorium is a member of the daisy family, in which its closest relatives are plants such as liatris and ageratum. It currently contains around 45 species which can be annuals, herbaceous perennials, subshrubs, or evergreen shrubs. This growing guide will focus on the cultivation needs of the herbaceous perennial species, grown for their late-season, domed clusters of flowers usually in varying shades of pink. These are known to be of particular value to bees and butterflies.
Eupatorium can be known by the common name Joe-pye weed, particularly in the USA.
Key Information
Position
Soil Conditions

Hardiness

Where & when to plant Eupatorium
For best results, plant in autumn or spring. An autumn planting can be done by those gardening in mild conditions (and broadly speaking, this is the southern half of the UK). For those liable to cold winters, it is best to wait until spring (generally the northern half of the UK). Planting can also be carried out in summer, though be prepared to water regularly.
Eupatorium can be a tall, imposing plant well-suited to the back of a border, or a more compact, dwarf version perfect for mingling towards the front. At Hayloft we stock varieties ranging in height from 75cm to 2m, so do make sure you read individual descriptions to help find the right fit for you.
Eupatorium is a wonderfully obliging plant which will tolerate nearly all soil pH, and moisture levels ranging from heavy, wet, clay soil to short periods of drought. It is also suitable for coastal conditions. Smaller cultivars can be grown in a container, if you are prepared to water frequently.
While eupatorium will grow in partial shade, too much is likely to cause leggy growth which may flop over (particularly in tall varieties). For best results grow in a sunny spot, though a little light afternoon shade can be appreciated in very hot, dry areas.
How to plant Eupatorium
In the ground
Clear the chosen area of weeds.
Dig a planting hole several times larger than the root ball. Now is the time to give your soil a boost by adding well-rotted organic matter to the planting hole and mixing thoroughly.
Place the plant in the hole, ensuring the top of the root ball sits level with the surface of the soil. Too low and the plant may rot, too high and the roots can dry out.
Backfill with soil and firm in gently.
Soak well with water.
Mulch around the base with well-rotted organic matter.
In a container
Choose an appropriate container (as deep as you can), ensuring there are plenty of drainage holes in the bottom.
It can be a good idea to fill large pots in situ, to save yourself the trouble of moving once full.
For best results use a good quality potting compost with a few handfuls of horticultural grit mixed in. If not already present in the compost, add some slow-release fertiliser granules.
Start by partially filling the pot with compost; enough so that when placed on it the upper surface of the root ball is about 3cm lower than the top of the pot.
Infill all the space surrounding the root ball with compost, firming down with your fingers then adding a little more so the plant is held tight.
Pick up the pot and lightly tap on the potting bench or ground a few times to help further settle the compost around the plant.
Soak well with water.
A mulch with horticultural grit will look attractive and help to prevent a ‘cap’ or crust forming on the top of the compost (something container plants can suffer due to the artificial nature of their watering).
What to plant with Eupatorium
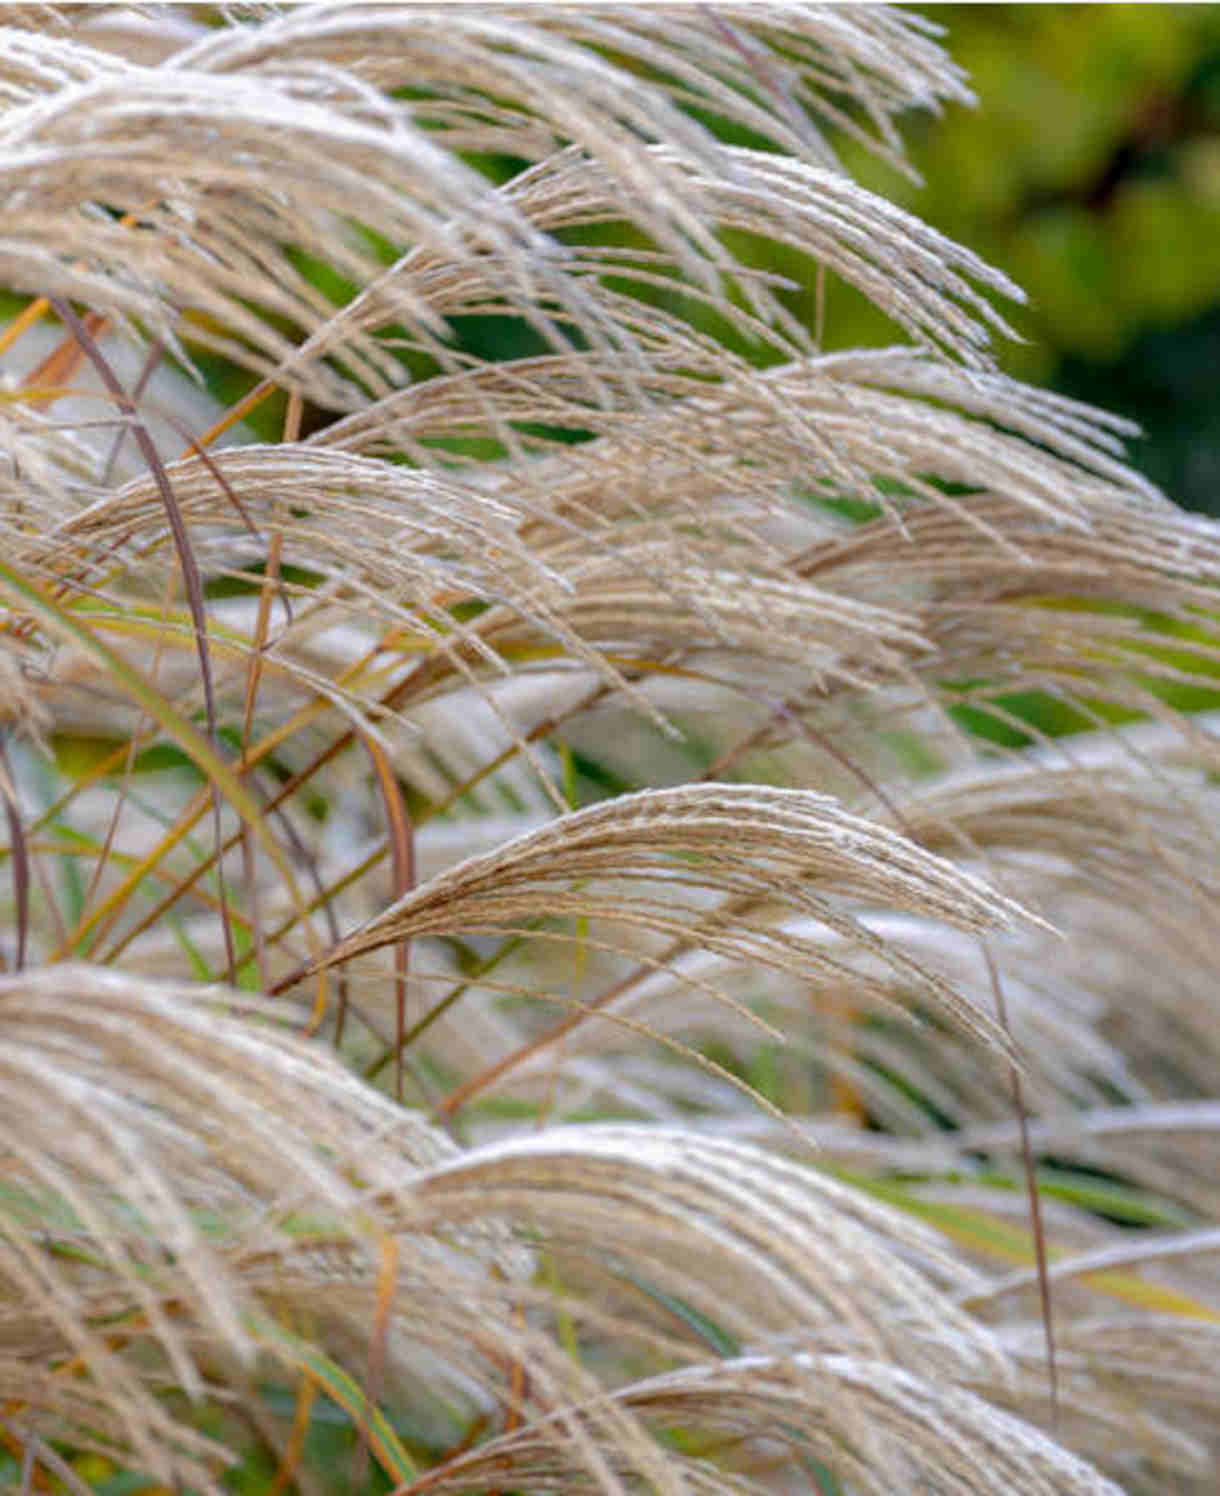
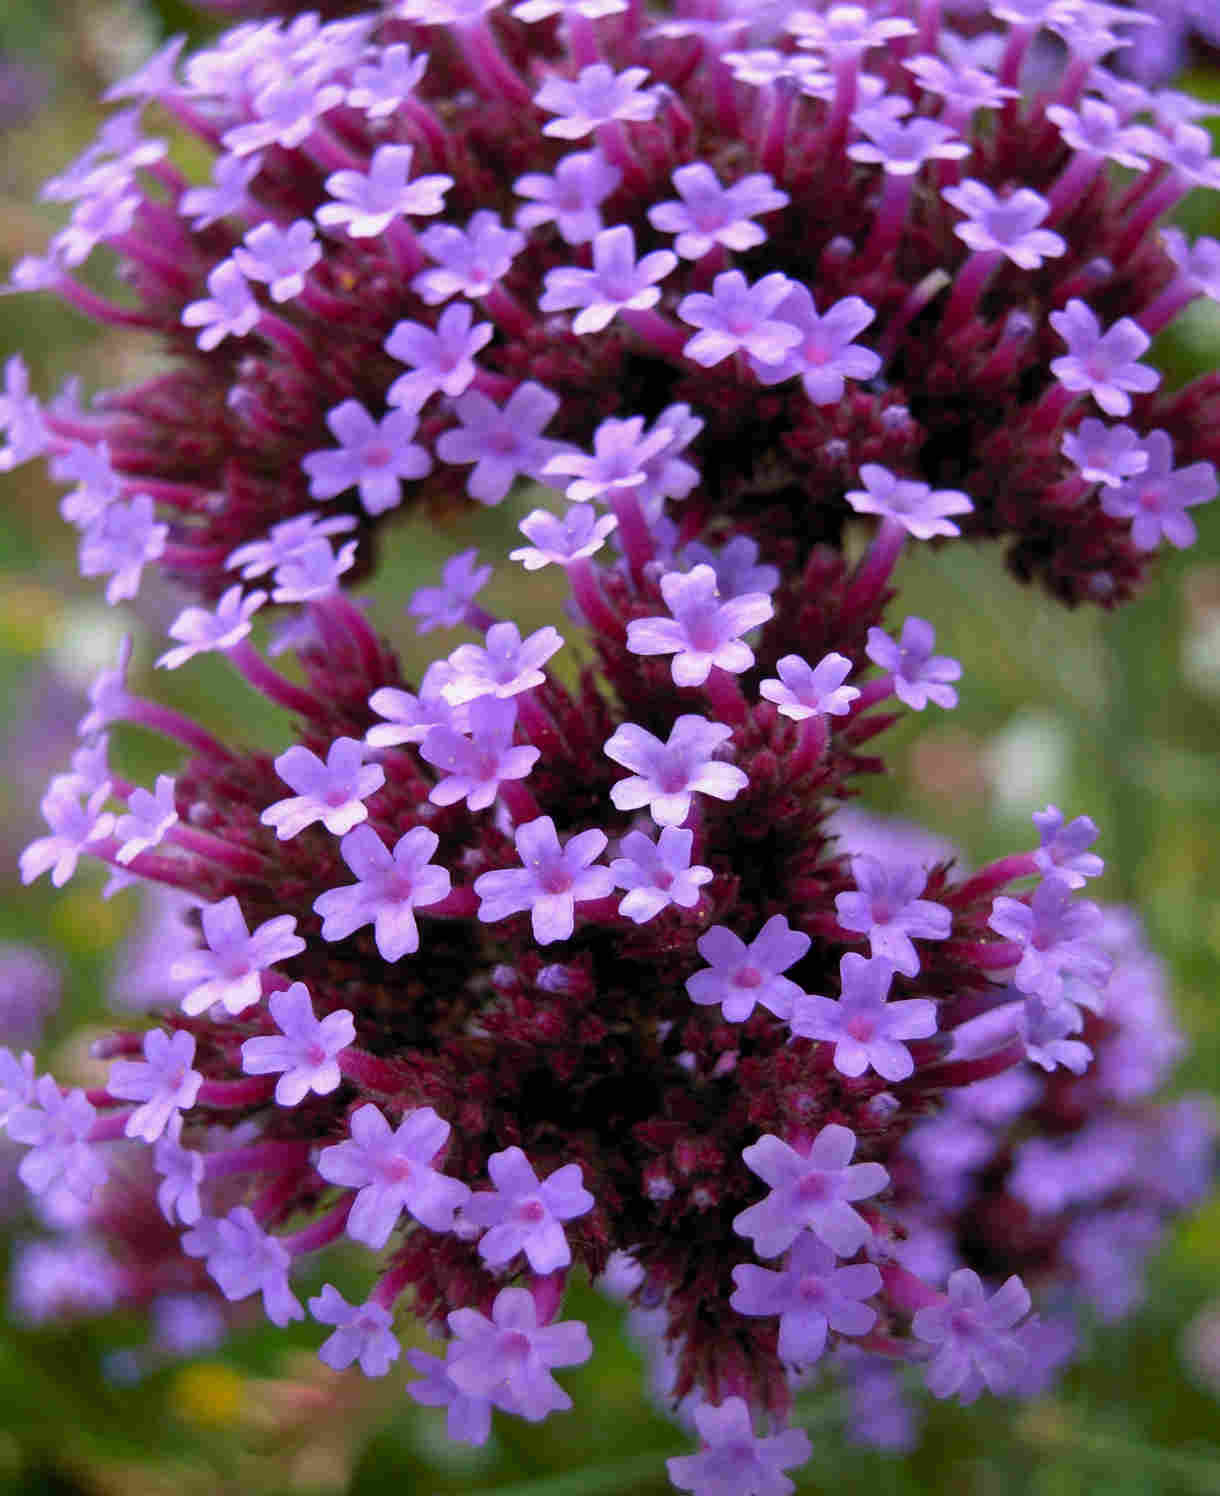
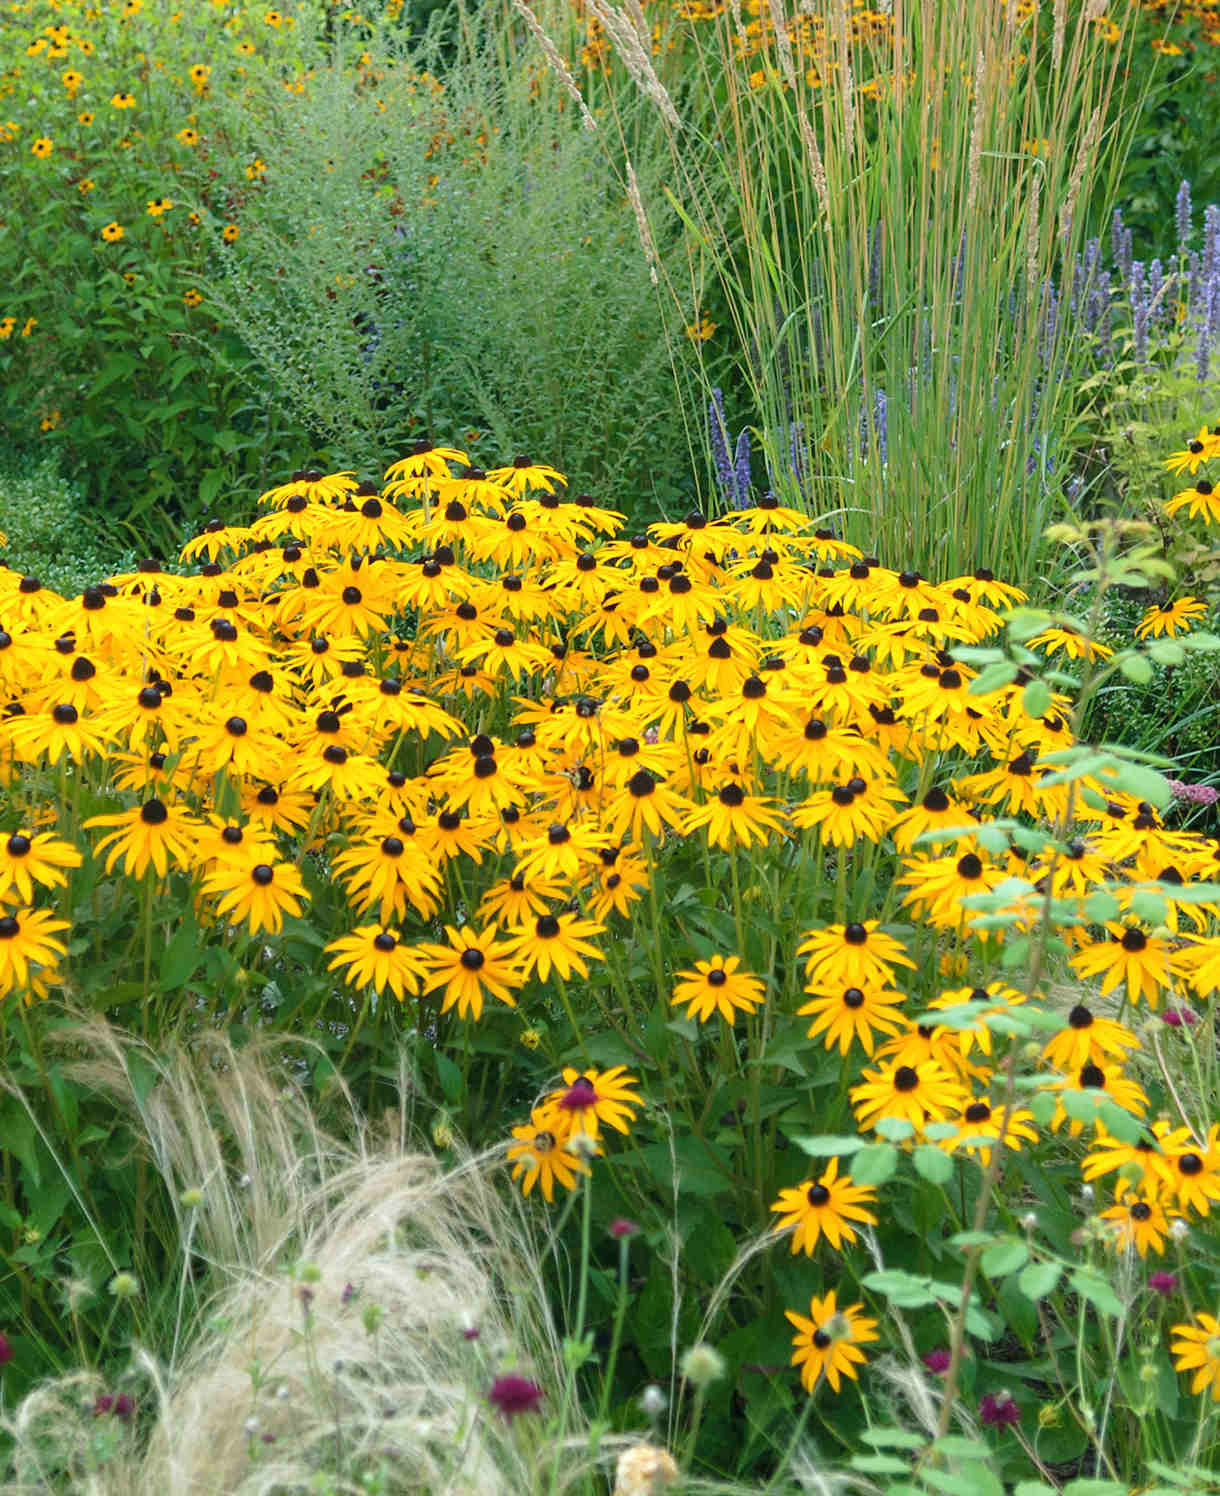
Eupatorium has a naturalistic appearance which fits particularly well in a prairie-style or wildlife garden. Think along the lines of verbena, echinacea, veronicastrum, persicaria, rudbeckia, agastache, sanguisorba, with grasses such as stipa, pennisetum, and miscanthus.
How to care for Eupatorium
Pruning and Deadheading
Eupatorium is a prime candidate for the ‘Chelsea chop’, whereby growth is cut back by half in late May. This results in a more compact eventual size while also encouraging stems to branch out (and therefore produce more flowers).
This can be a particularly useful approach for very tall varieties grown in a situation where they are prone to flopping over, such as in partial shade, or in very fertile, moist conditions.
Cut plants down to ground level at the end of the growing season.
Watering
Water consistently until established (generally for the whole of the first growing season), and in very dry spells thereafter. Even when mature, eupatorium struggle with more than a few days drought conditions at a time.
Container-grown eupatorium should be watered freely throughout the growing season.
Cold Protection
All the varieties of eupatorium sold by Hayloft are hardy and should easily come through a UK winter without the need for additional protection.
Pests and Diseases
Eupatorium tends to be largely pest and disease free, though you may find slugs and snails develop a taste for its leaves, particularly when newly planted. Encouraging natural predators into your garden, such as birds, frogs, toads, and hedgehogs, will make a big difference. Torchlight searches after dark (when slugs and snails are at their most active) are also effective, allowing you to collect the offending molluscs in a bucket. Place on the compost heap, or in a part of the garden containing less vulnerable plants.
Like most plants, once eupatorium is well established it tends to be better able to tolerate the actions of slugs and snails without the need for intervention.
How to propagate Eupatorium
Established clumps of eupatorium are best propagated by division in early spring. As well as providing new plants, this also maintains the health and vigour of existing specimens.
- Choose a day when the soil is not frozen or waterlogged.
- Dig the plant out of the ground.
- Shake off any excess soil.
- Separate the plant into sections using either swift, cutting blows with a sharp spade, or two forks inserted back-to-back with tines touching, handles then pushed together to prise the plant apart.
- Discard old, damaged, or surplus pieces, keeping healthy, vigorous material.
- Replant selected pieces where desired.
- Water well until fully established.
Common questions about Eupatorium
- How do eupatoriums propagate?
Eupatorium will spread readily in a garden, both through underground roots and seeds. If this is undesired, deadhead flowers before they have a chance to set seed, and lift and divide clumps every few years to control their spread. - Is eupatorium perennial?
There are many species of eupatorium, some annual, some perennial, some subshrubs, and some evergreen shrubs. All the eupatorium sold by Hayloft is of the perennial type, meaning it dies back to ground level in winter and reshoots in spring. - Where does eupatorium grow?
Eupatorium can be found growing all over the world, in habitats ranging from dry, sandy sites in woodland to pastures and swamps. - When can I transplant eupatorium?
Eupatorium can be lifted and divided in early spring. See our ‘How to propagate eupatorium’ above. - My eupatorium is showing no signs of life this spring. Is it dead?
Eupatorium can be slow to get going in the new year, often not reshooting until late spring when all around it has been growing away for weeks. You are likely to be on the verge of giving it up for dead by the time it shows signs of life.