How to grow Alcea
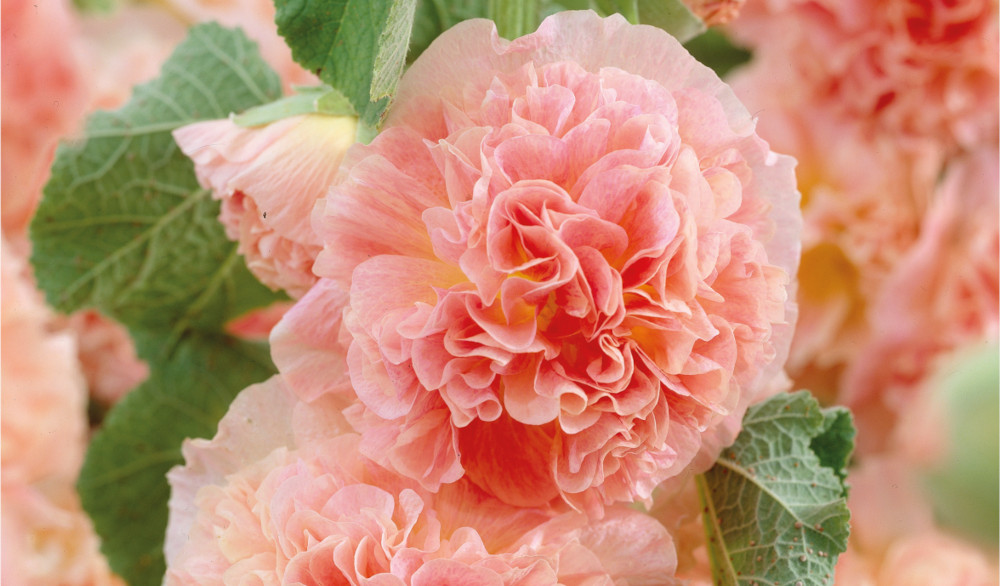
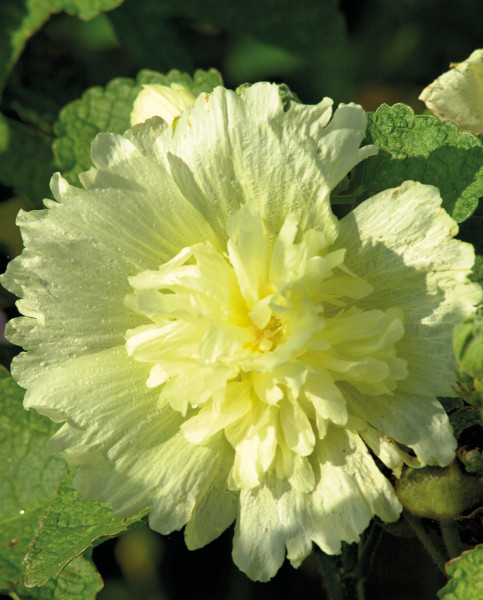
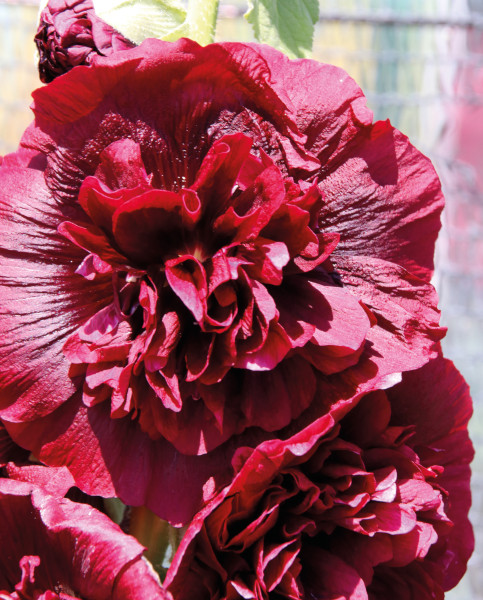
Alcea – commonly known as Hollyhocks. Often thought of as the quintessential cottage garden plant but its architectural form is great for other styles of planting too. A hardy, herbaceous perennial which grows to a height of up to 2 metres with a 60-80cm spread. Available as single or double blooms in a rainbow of colours to suit most tastes. Plant in the mid to rear tier of your border and these drought tolerant plants will flower from June-August and beyond with stunning, columnar blooms that may naturalise by self-seeding or can be propagated by saving and sowing the seed in a controlled environment. They are beautiful as cut flowers too – adding height and columnar form to bouquets and vases. Alcea requires a sunny, sheltered site in moist, well-drained soil. They are best planted in spring or autumn and often flower in their first year.
Alcea are fully hardy plants that have a relatively short life cycle of approximately 3 years so. They are, however, easily propagated and come in a range of gorgeous colours as well as single or double varieties. This means that you can vary their location and their form or colour with relative ease, as well as growing your own.
The plants are thought to originate from East Asia, and they have roots in ancient Japanese culture too. It is thought that the British first encountered them during the Crusades when they were used to make a salve for the Crusaders’ horses which were injured on their hind legs (or their hocks). It is pretty certain the name is derived from both the Holy Land (Holly) and the part of the horse that the salve treated (hock) – simple but ingenious!
Alcea are part of the Mallow family (which also includes okra, marsh mallow, cotton plant and hibiscus). Whilst there are obvious commonalities in the flower form - it is a widely varied family ‘tree’ to say the least…
Key Information
Soil pH

Position
Hardiness

Where & when to plant Alcea
Alcea will grow in almost any garden soil; ideally find a sheltered spot with fertile, well-drained soil that enjoys full sun. A site with some protection from a wall or fence is even better as the flower spikes can be susceptible to wind damage. Young plants are best put into the ground in autumn or spring – ensure that they have a good root system prior to planting out by growing smaller plants first. Once they have filled the pot with roots, harden them off if you have had them in the greenhouse over winter. Wait until late May when the risk of frosts has considerably reduced before putting them in the ground.
How to plant Alcea
Dig a hole slightly wider than the pot in which your Alcea is growing and as deep as the pot. Loosen the plant from its container and gently tease out any compacted roots before placing into the planting hole, ensuring that the plant remains at the same level in the soil as it was in the pot.
Firm back the soil to secure the plant in the ground and water in. Plant multiples at least 60cm apart to allow room for the bushy mound of leaves to spread before it sends up its flower spikes.
Protect your young plants from slugs and snails who will quickly munch through the tender leaves by spreading a layer of slug resistant material such as grit, wool or crushed shell around the plant after watering.
What to plant with Alcea
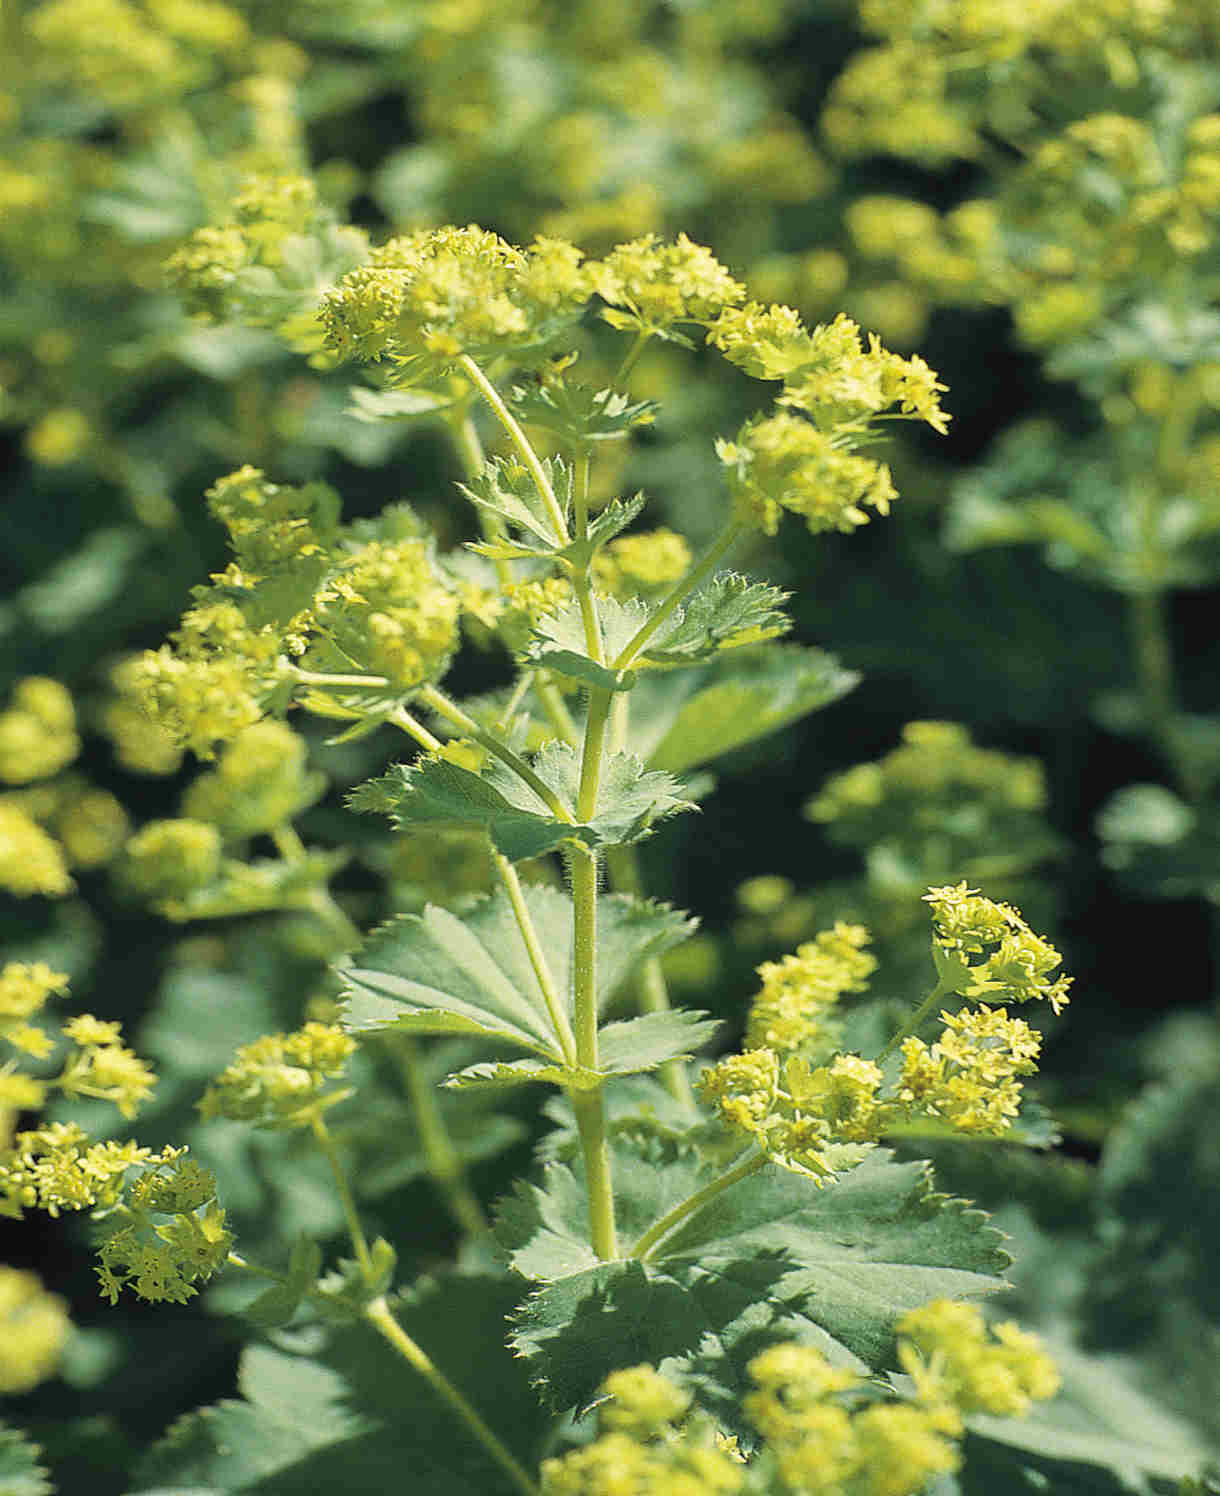
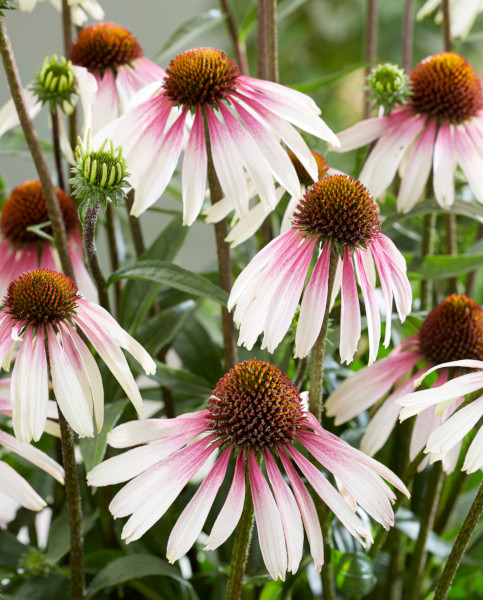
This is very much down to personal taste and the style of your planting. At Hayloft we like roses and delphiniums for the archetypal cottage garden look - Rose Ruby Romance and Delphinium Blue Jay with Alchemilla Mollis make a stunning combination. For prairie style planting try Echinacea Pretty Parasols, Dierama Blackbird and Pennisteum Black Beauty. If you are looking for smaller flower spikes to mimic form – look to Verbascum Clementine for a real zing of colour or Lupin Indigo Skies if you want deep, rich and exotic colours.
How to care for Alcea
Available as plug plants and young plants - they are best nurtured in a cool but protected area until the risk of frost has passed. Plant your Alcea in a 9cm pot, or the next size up once this pot is full of roots. Also protect it from the colder weather whilst it establishes, after which you can acclimatise it to outdoors for 2-3 weeks before planting out in its final position.
Alcea are easy to look after and need minimal maintenance to do well in the garden. They do not require regular feeding but if your soil is nutrient poor you can dig in some compost prior to planting to improve growing conditions. More importantly water them little and often during their first few weeks, particularly if there has been a drought, as they will need to spread their roots enough to sustain themselves during this early growing period.
They will often flower in their first year, but this is not to be expected – they normally flower in their second year having established themselves during the first season of growth. Flower spikes may need staking to prevent wind rock or breakage and check regularly for signs of slugs, caterpillars or flea beetle – picking off any visible to the eye or spraying with an organic repellent. Another potential issue is hollyhock rust – also known as rust disease. In order to prevent this from becoming an inherent issue replace plants after a few years and collect all the dead and diseased plant material up at the end of the season and discard it rather than add it to the compost heap. This will stop the carry-over of rust spores from one year to the next. As with most things – early measures work better at controlling the problems you may encounter.
At the end of the growing season simply cut the flower spikes to the ground, remembering to save any seed if you wish to, and then tidy away the spent leaves. If the soil needs replenishing a good mulch of organic matter will suffice.
How to propagate Alcea
Alcea will produce copious amounts of seed which you can use for propagation. Simply sow the seed in situ or save and sow in autumn or spring for a continual supply. You can also lift young, self-seeded plants and relocate them to where you need them. If you wish to control propagation, then sow seeds indoors or in a greenhouse in April-May. They will germinate easily in temperatures of 16-21°c – placing them in a propagator will both control temperature and encourage germination. If the seed pot is placed on a windowsill, germination is achievable although it may be a bit slower.
Once germination has occurred and you have ‘true leaves’, gently prick-out the seedlings and pot up into individual cells or containers. Keep young plants moist whilst they establish but do not let them sit in waterlogged soil – little and often is key here. The better the root system in the beginning the taller and stronger the flower spikes are likely to be later on. Do bear in mind that your seeds will not always be a direct copy of the parent plant – which can make growing your own a bit of an adventure.