How to grow Acacia
This member of the pea family is a huge genus of over 1100 species of trees, shrubs, and climbers. Some of these are cultivated for their sweetly scented (often yellow) flowers and delicate foliage.
Acacia is also known by the common names of wattle and mimosa.

Key Information
Position
Soil Conditions

Hardiness


Where & when to plant Acacia
Our acacias are tender to half-hardy, and therefore we only recommend planting them outside if you can offer the protection of warm, sheltered, south-facing wall, or any other mild microclimate (perhaps an urban or coastal environment).
In colder, frost-prone spots, grow your acacia in a container to allow for overwintering inside – a greenhouse or conservatory is ideal.
Planting/ potting is best done in spring once all risk of frost has passed in your area (usually mid to late May). It is also possible to do this in summer, though be prepared to water regularly.
How to plant Acacia
In the ground
- Clear the chosen area of weeds.
- Dig a planting hole several times larger than the root ball. Now is the time to give your soil a boost with the addition of generous amounts of well-rotted organic matter, and, if it is on the heavy side, plenty of horticultural grit.
- Place the plant in the hole, ensuring the top of the root ball sits level with the surface of the soil. Too low and the plant may rot, too high and the roots can dry out.
- Backfill with soil and firm in gently.
- Soak well with water.
- Mulch with well-rotted organic matter.
In a container
- Choose an appropriate container (as large as possible), ensuring there are plenty of drainage holes in the bottom.
- Use a good quality potting compost with plenty of horticultural grit mixed in, and, if not already present in the compost (check the description on the bag) some slow-release fertiliser granules.
- It can be a good idea to pot up larger containers in situ to save yourself the trouble of moving once full.
- Start by partially filling the pot with compost; enough so that when placed on it the upper surface of the root ball is about 3cm lower than the top of the pot.
- Infill all the space surrounding the root ball with compost, firming down with your fingers then adding a little more so the plant is held tight.
- Pick up the pot (if you can!) and lightly tap on the potting bench or ground a few times to help further settle the compost around the plant.
- Soak well with water.
- A mulch with horticultural grit will look attractive and help to prevent a ‘cap’ or crust forming on the top of the compost (something container plants can suffer due to the artificial nature of their watering).

What to plant with Acacia
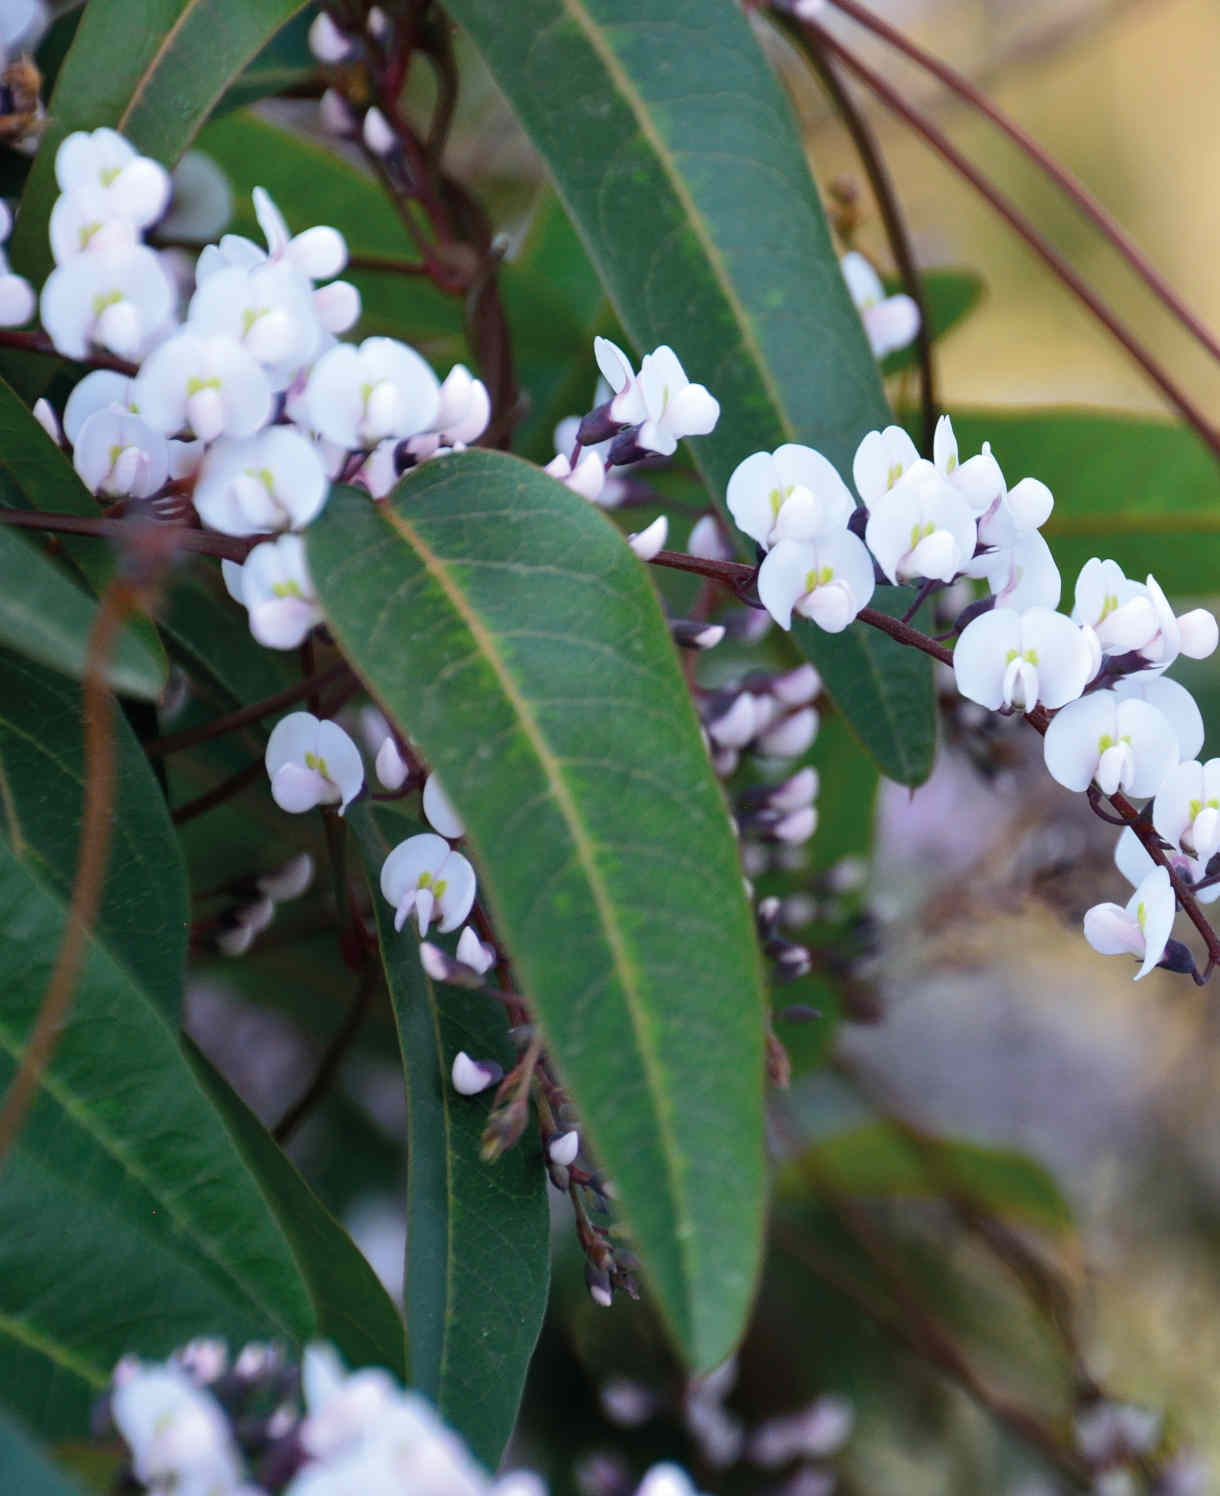
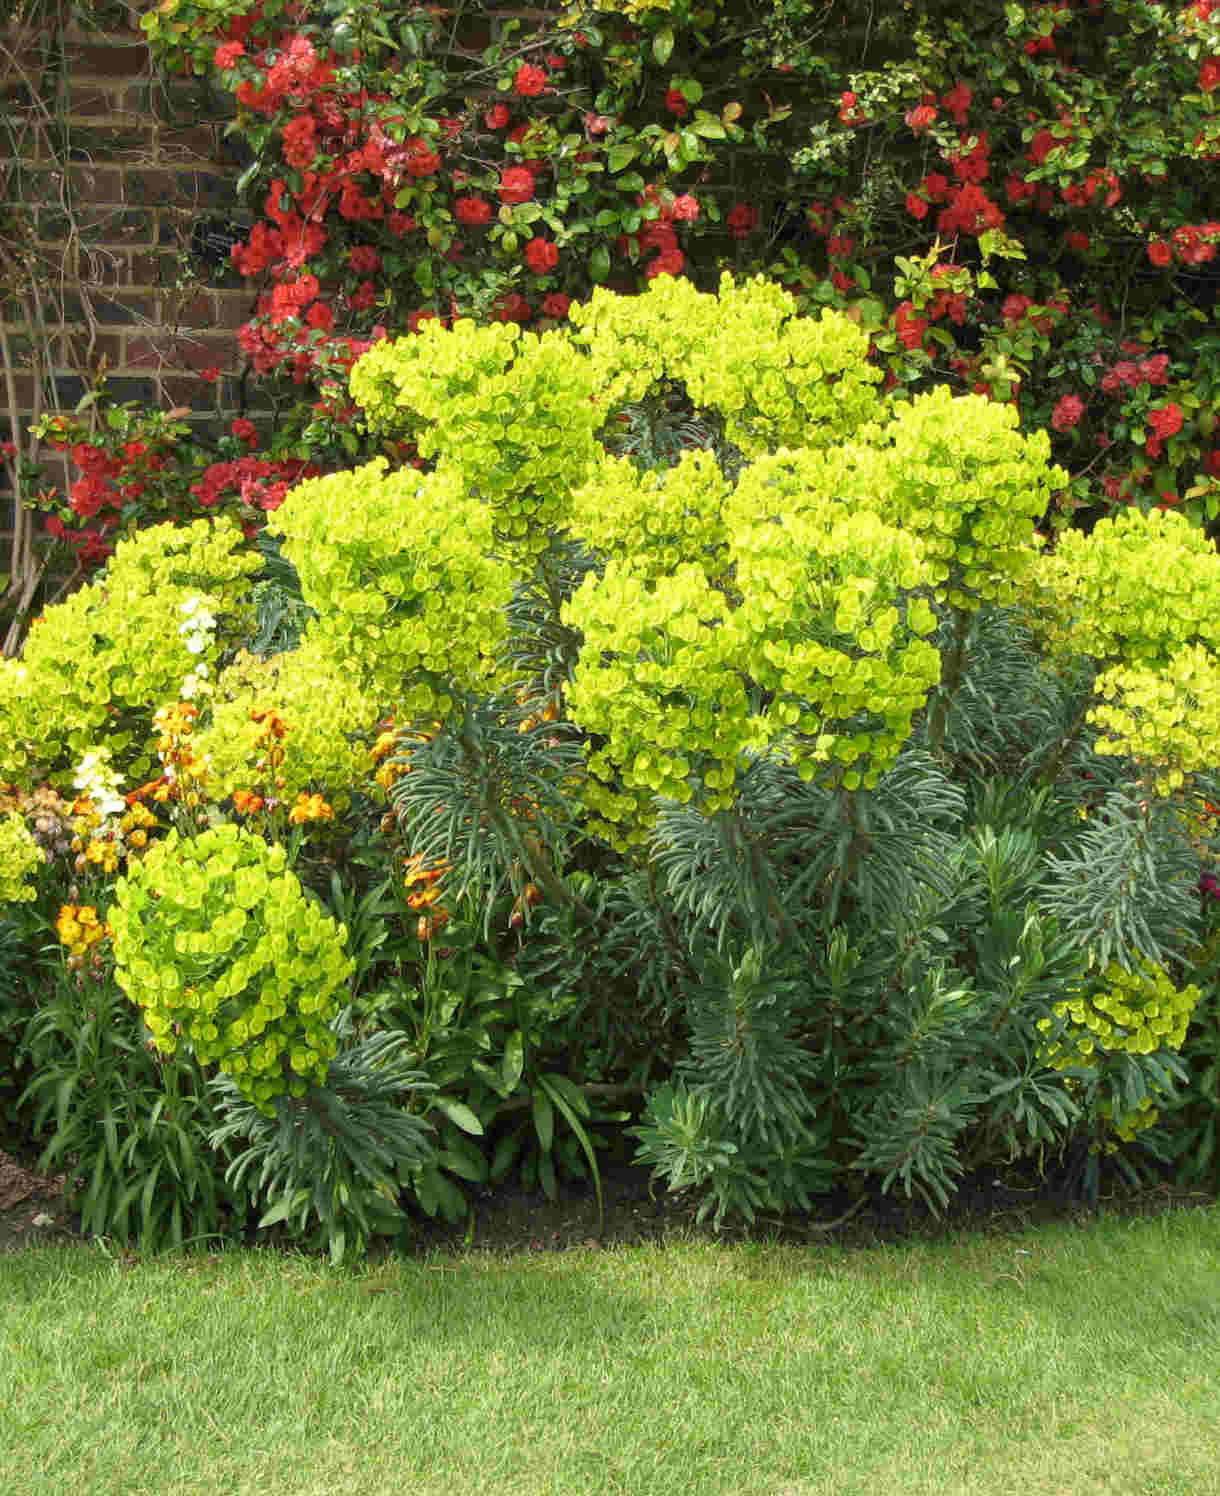
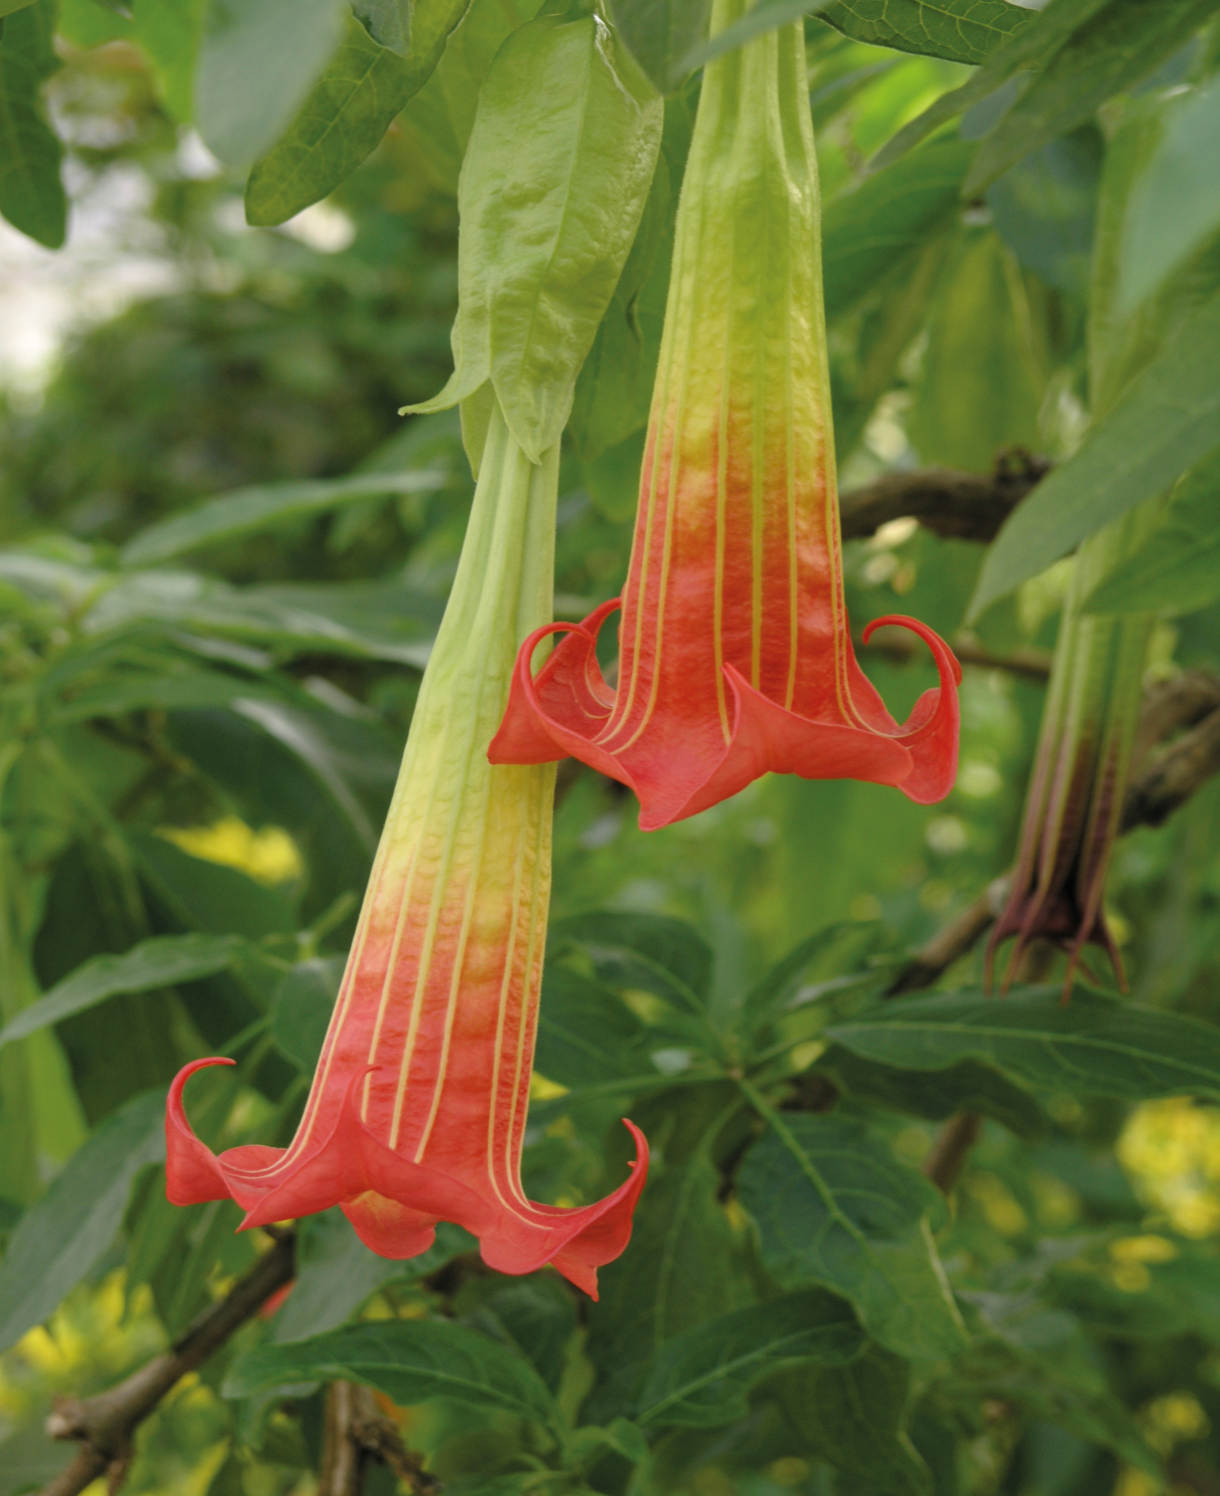
We particularly love seeing the brilliant yellow flowers of acacia combined with purple-blues and zingy lime greens. If you have the sunny, protected spot needed to grow this tree outside, you could go for the half-hardy climbers hardenbergia and sollya, perhaps with a generous clump of euphorbia as lower storey planting.
How to care for Acacea
Pruning and Deadheading
Acacia resents hard pruning. Light removal of dead, diseased, damaged, and badly placed branches can be carried out in late spring once all risk of frost has passed.
Watering
Water regularly until fully established (usually the first growing season), after which acacia is drought tolerant.
Container-grown acacia will require regular watering throughout the growing season. Allow the top few centimetres of compost to dry out between soakings.
Cold Protection
In all but a mild microclimate, acacia will need to be overwintered indoors. See ‘When and where to plant acacia’ for more information.
Pests and Diseases
Acacia tends to be problem-free.
How to propagate Acacia
Acacia can be propagated by cuttings taken during summer (a good way to insure against winter losses).
- Find non-flowered shoots 5-10cm long and snip off the plant.
- Put them in a plastic bag straight away to prevent drying out.
- Fill a container with a compost mix which is at least 50% perlite (or if you prefer, as we do, 100% perlite).
- Trim the end of the cutting to just below a node (point at which leaves grow).
- Remove the lowest third of leaves.
- If the remaining leaves are large, cut them in half with a sharp knife (to reduce water lost through transpiration).
- Insert the cuttings into the compost and water lightly. Several cuttings can be put in the same container if there is enough space to do this without them touching.
- Place in a greenhouse or propagating unit if you have one or covered with a plastic bag on a windowsill if not (out of direct sunlight).
- Keep the cuttings misted and occasionally watered until they root. You will know this has happened when roots emerge out of the bottom of the container.
- Gently remove rooted cuttings and pot them into individual pots. Grow on in a conservatory or greenhouse until they are large enough to be planted out.